Some basic stuffs that you will encounter when building your website or client’s site with Beaver Builder!
In this post
1. How to create Header
To create Header on Beaver Builder, you can use BB Themer (plugin) or Header Footer for Beaver Builder (plugin).
With BB Themer
First, you need to purchase BB Themer – An addon was coded by the Beaver Builder team.
Note: this is a separate plugin, and is not included in Standard, Pro, Agency plan.
Next, install & active BB Themer
Next, access Beaver Builder > Themer Layout > Add New > Add Themer Layout

and choose Location, Rules,…
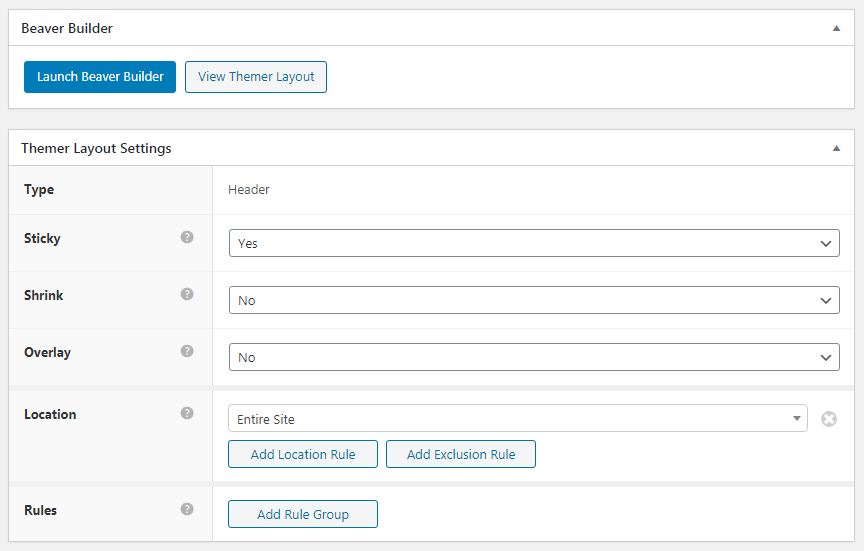
Then, click Launch Beaver Builder > Drag & drop to design your layout > Save & Publish!

With Header Footer Beaver Builder
First, install and active Header Footer for Beaver Builder (Plugins > Add New).
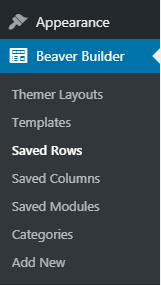
Next, create a Saved Row (Beaver Builder > Saved Row > Add New > Add Saved Row > Design your layout > Publish).
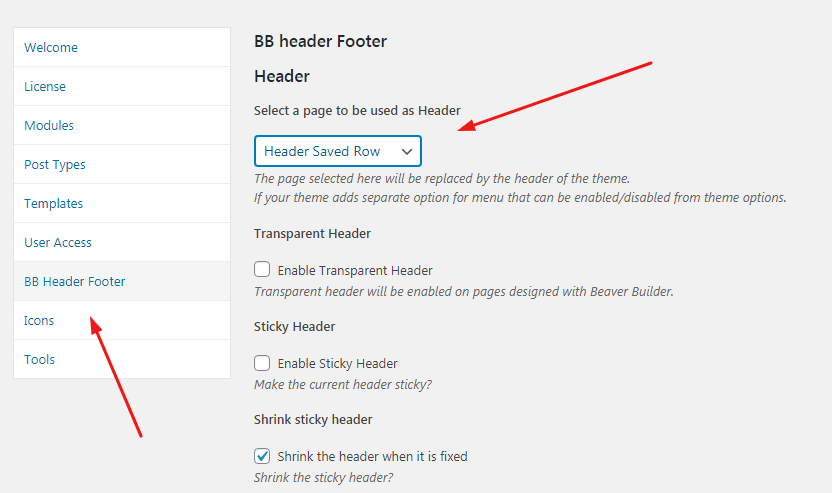
Then, go to Settings > Beaver Builder > BB Header Footer > Assign Saved Row to Header.
This free plugin was coded by
2. How to create Footer
Do similar Header
3. Edit Row Background
Hover on a module or any range in the row. You will see a rectangular border with icons. Click on the icon as shown below.
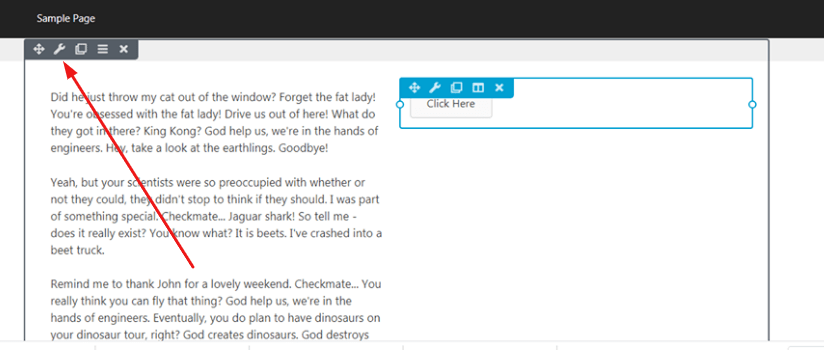
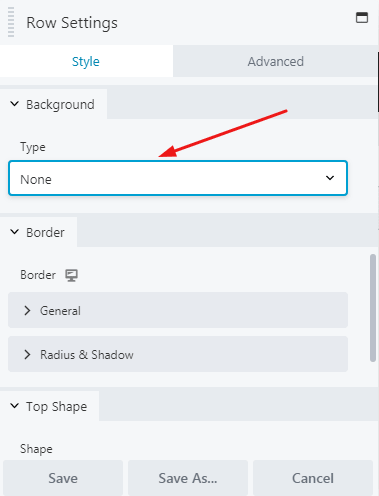
Scroll down to Background. You can choose Background Color, Background Image, Gradient,….
4. Edit Row Width
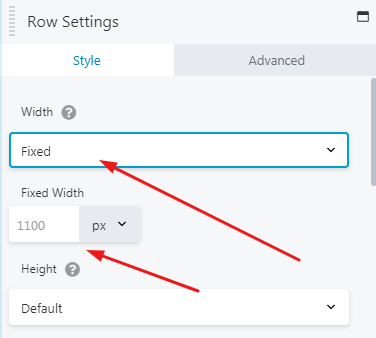
Hover on a module or any range in the row. You will see a rectangular border with icons. Click on the icon as shown below.

You can set Fixed Width or Fullwidth. If you choose Fullwidth, you can set Fullwidth Row & Content, or Fullwidth Row – Fixed width content.
5. Edit Column Width
Hover on a module > Click icon > Column Settings
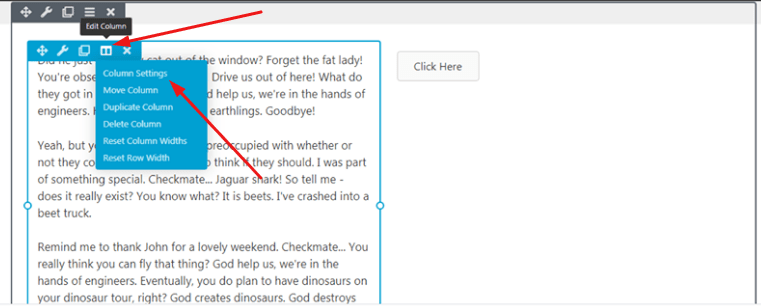
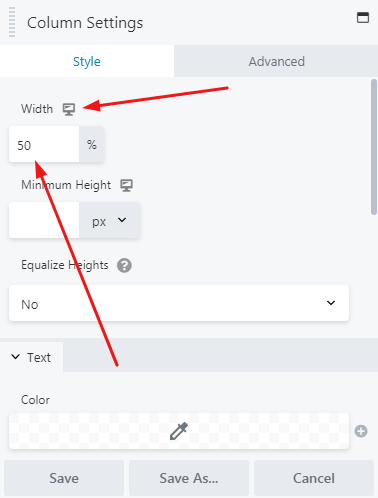
You can edit width here! By default, the current width is Desktop. You can click the icon as shown below to edit width on Tablet and Mobile.
5. Edit Column Background
Hover on a module > Click icon > Column Settings

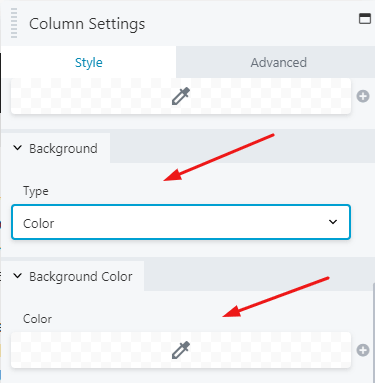
Scroll down to Background – Type. You can use background color, background image, or gradient!
