In this post
- Where to download GeneratePress Child Theme
- How to Install GeneratePress Theme & Child Theme
- How to White-Label GeneratePress Child Theme
In this post
How to Install GeneratePress Theme and Child Theme
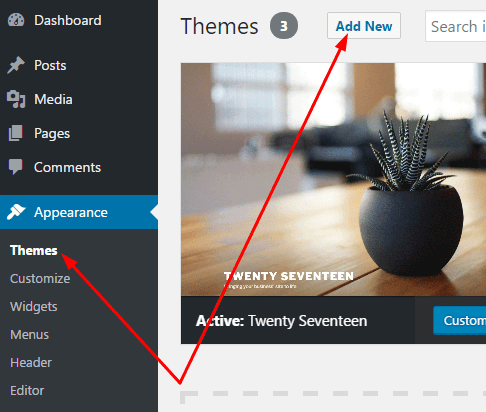
Step 1. Log in to WordPress
and Go to Appearance > Themes > Add New
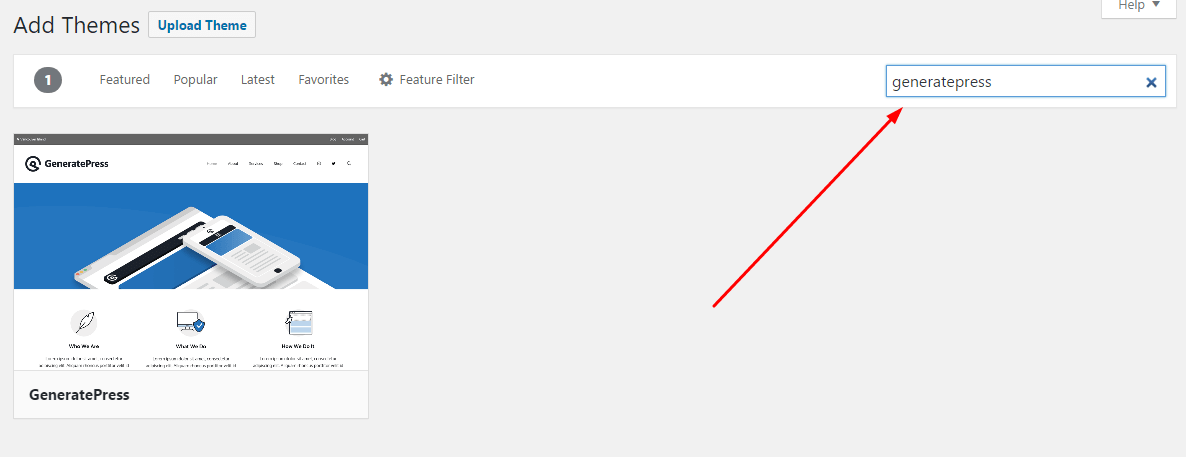
Step 2. Type “GeneratePress” and Press Enter
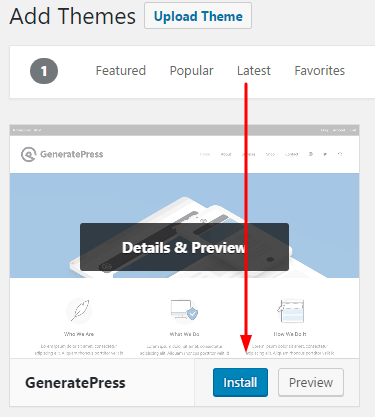
Step 3. Hover on GeneratePress Screenshot
Then click on Install
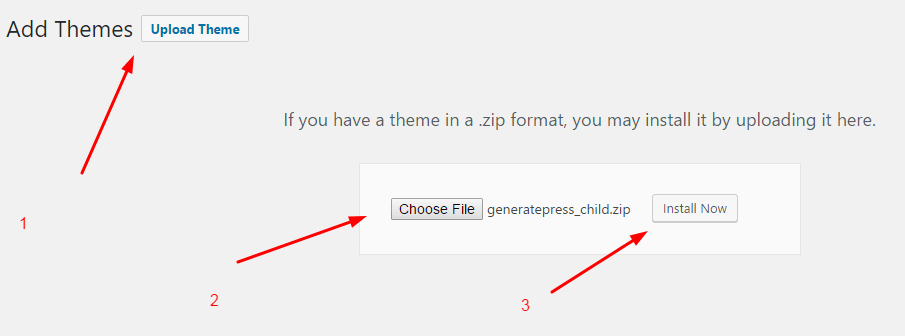
Step 4. Installing The Child Theme
You can download GeneratePress Child Theme at HERE
Then go to Appearance > Themes > Add New > Upload Theme > Choose File > Install Now
Step 5. Click on Activate
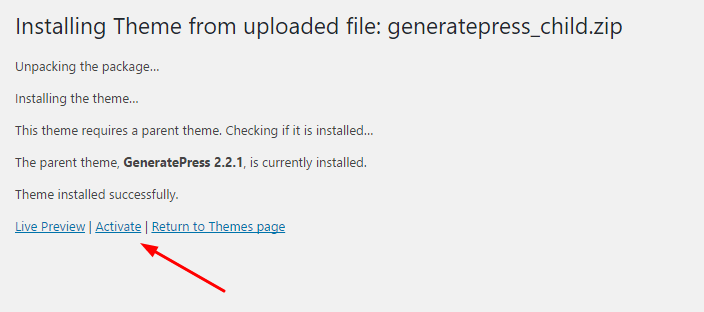
Done!
How to White Label GeneratePress Child Theme
You can change:
- Name, URL, Description, Author, Author URL and Screenshot of GeneratePress Child Theme

Method 1. If you don’t have GeneratePress Child Theme Installed
Step 1. Extracting The GeneratePress Child Theme downloaded in Step 4 (above)
You will have a GeneratePress_Child folder with 3 files:
- functions.php
- screenshot.png
- style.css
We need to change style.css, screenshot.png and GeneratePress_Child Folder Name
Deleting the GeneratePress screenshot, and replace it with your own image, remember to name it screenshot.png
The recommended theme screenshot size is 1200 x 900 (px)
Opening Style.css with Notepad, or Brackets, or Any Text Editor.
You can change the information in 5 lines in images:
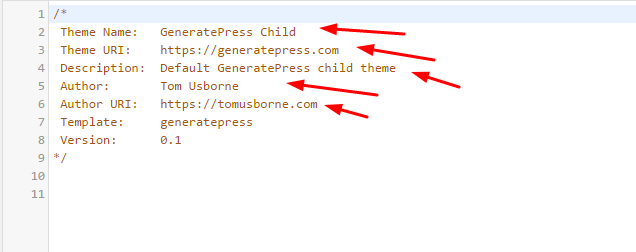
Remember: You can not rename the Template: generatepress
Finally, you can change GeneratePress_child Folder Name 🙂 For Example: Furniture-v2, Fashion-Template, Semibold Furniture,…
Step 2. Compressing The New GeneratePress_Child Folder under .ZIP
Ex: Furniture-v2.zip, Fashion-Template.Zip
Step 3. Installing New GeneratePress Child Theme 🙂
Method 2. If you installed GeneratePress Child Theme
Step 1. Go to Appearance > Editor
and Change Here (Line 2 – Line 6)
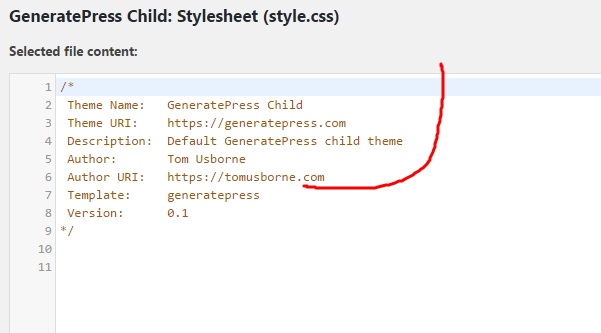
Step 2. Click on Update File
If you want to change screenshot, you need to visit Hosting (public_html/wp-content/themes/generatepress_child)