eStudio is a creative portfolio theme for businesses and freelancers alike.

The following article will guide you to make a Company/Business Website with eStudio Theme, Step by Step
In this post
Step 1. Buy Domain Name & Hosting
Domain is the address of the website. It’s like your house number. This includes the name (e.g. facebook, google, unicef), and the extension (e.g. .com, .org, .net).
Hosting is used to store articles, images, videos, etc. Hosting is like a land to build a house.
I recommended to register Domain Name in Namecheap and Hosting in Cloudways.
Step 2. Installing WordPress
Step 3. Installing eStudio Theme and Child Theme
First you need to download eStudio Theme
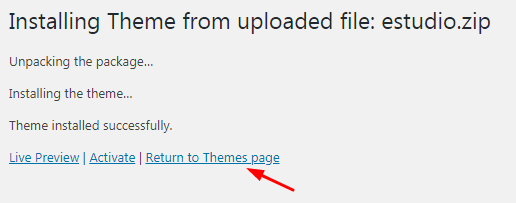
Go to Appearance > Themes > Add New > Upload Theme > Choose File (estudio.zip) > Install Now

Click on Returns to Themes page
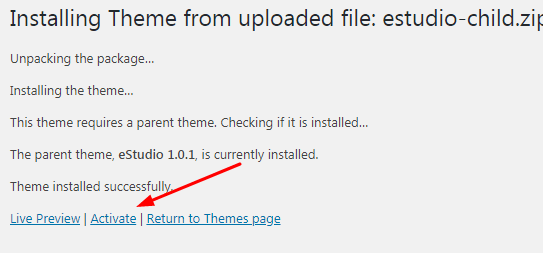
Go to Appearance > Themes > Add New > Upload Theme > Choose File (estudio-child.zip) > Install Now

Click on Active
Step 4. Customizing eStudio Theme
4.1. Header

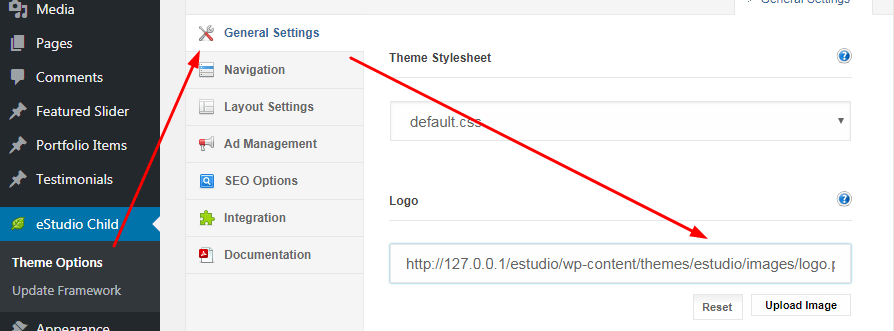
Change Logo at eStudio Child > Theme Options > General Settings > Logo
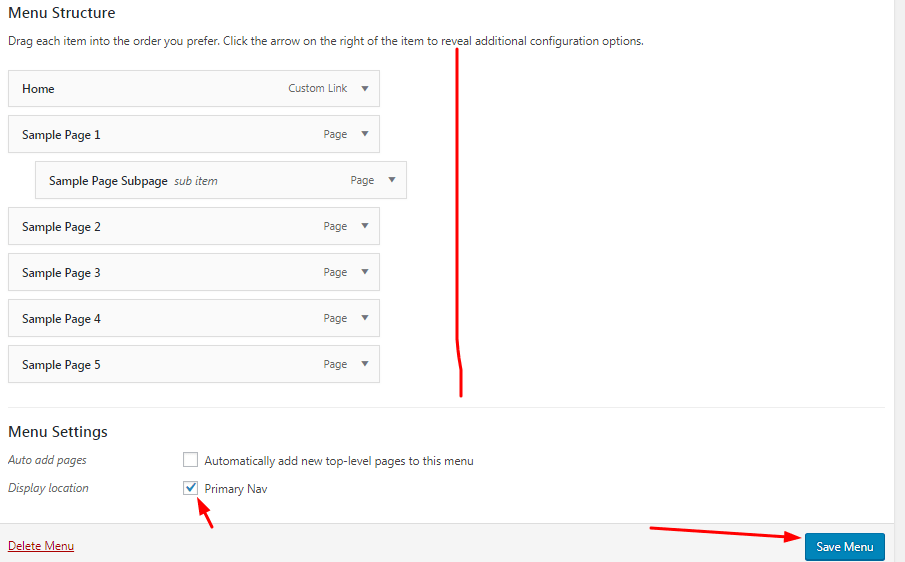
Change Menu at Appearance > Menus
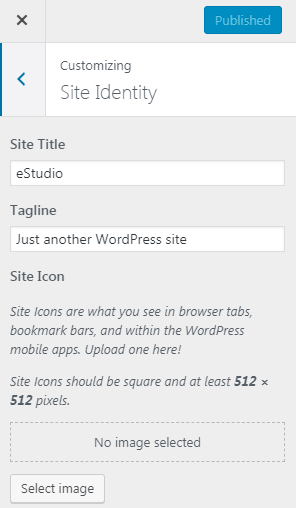
Change Site Title and Tagline, Favicon
Appearance > Customize > Site Identity > Publish
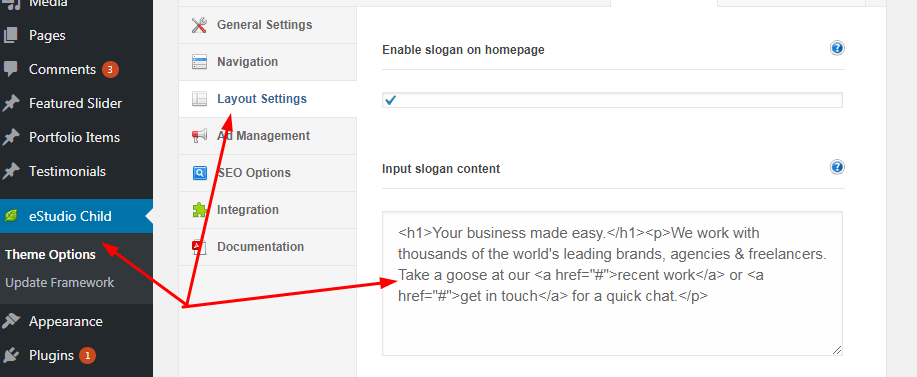
4.2. Slogan Content

Go to eStudio Child > Theme Options > Layout Settings > Input Slogan Content
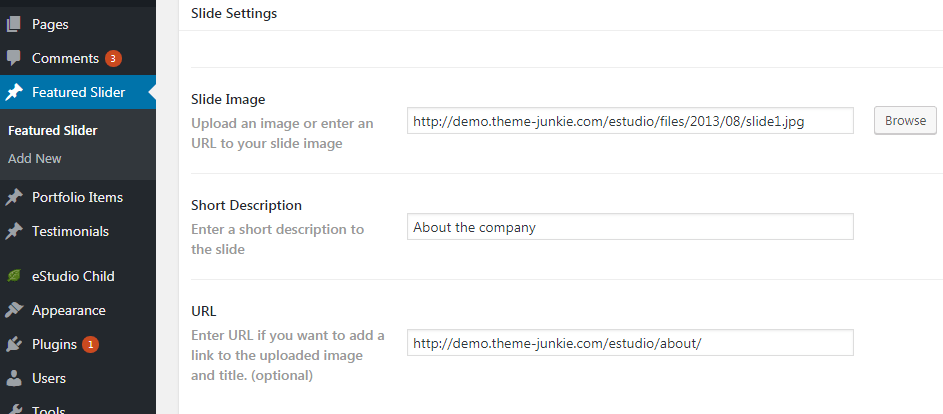
4.3. Featured Slider
Go to Featured Slider > Add New or Edit Slide already
- Slide Title
- Short Description
- Slide Image
- URL
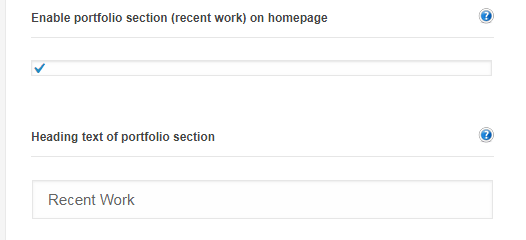
4.4. Recent Work
Change Heading text of Portfolio Section and Number of portfolio items to show on homepage at: eStudio Child > Theme Options > Layout Settings
Create Portfolio items at Portfolio Items > Add New
- Portfolio Title
- Portfolio Description
- Featured Image
- Portfolio Types
- Short Description
- Client Name
- External Link
- Image
- Video
4.5. Team Blog
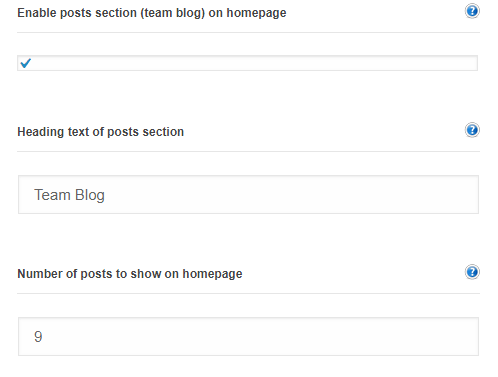
Change heading text of posts section and Number of posts show on homepage at eStudio Child > Theme Options > Layout Setting.
4.6. Happy Clients
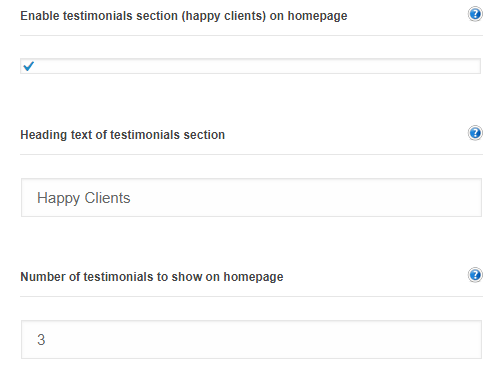
eStudio Child > Theme Options > Layout Settings
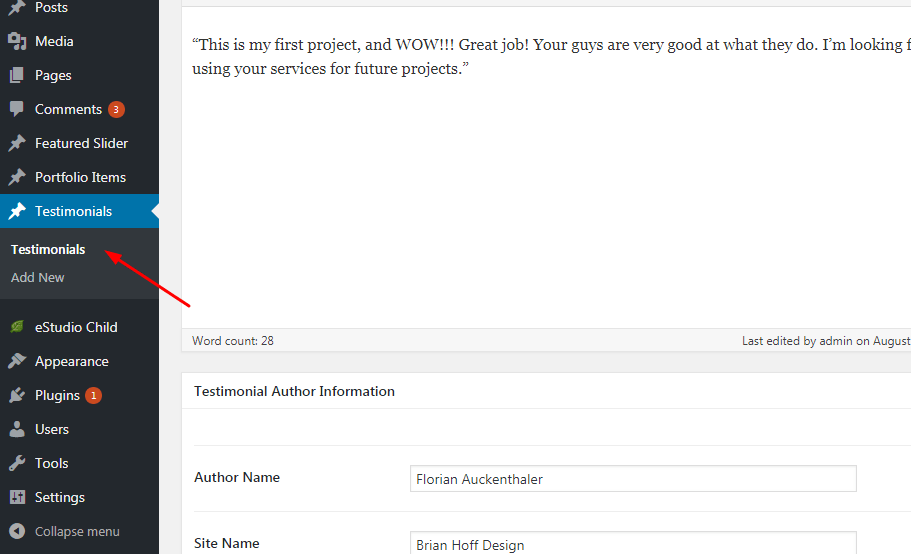
Go to Testimonials > Add New
- Title
- Description
- Author Name
- Site Name
- Site URL
4.7. Footer
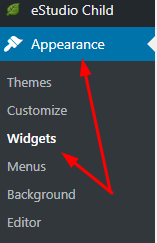
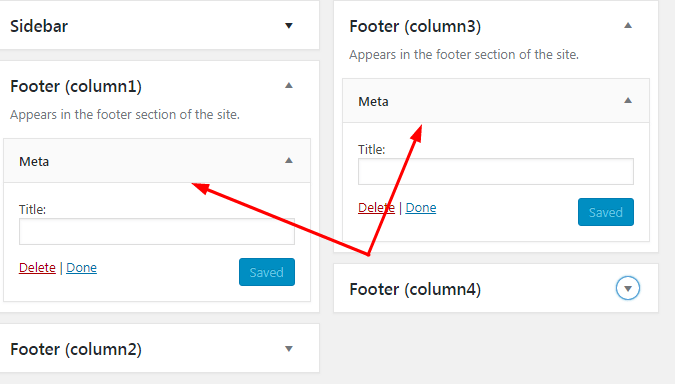
Appearance > Widgets
Drag widget to Footer 1, Footer 2, Footer 3, Footer 4
4.8. Footer Text
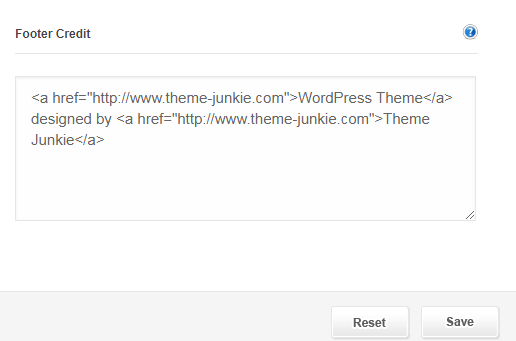
eStudio Child > General Settings > Footer Credit
4.9. Contact Form in Contact Page
eStudio Child > Theme Options > General Settings
- Contact Form Email

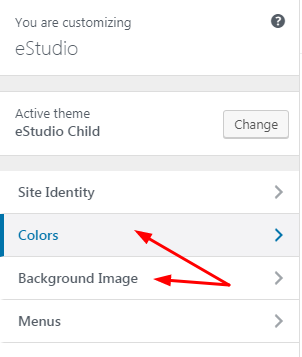
4.10. Background Color and Image
Appearance > Customize > Color (or Background Image)
4.11. Right Sidebar
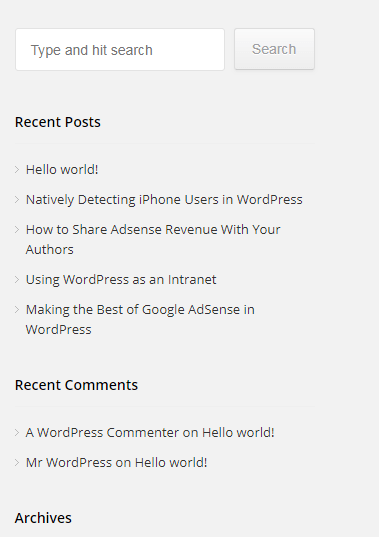
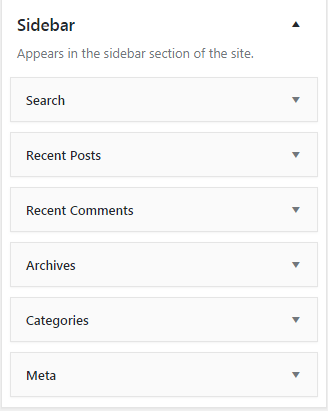
Go to Appearance > Widgets > Drag widget to Sidebar
5. Installing SSL Certificate
If you use Cloudways Hosting, follow this guide to know how to install SSL Certification (Free)