Today I read a question on Facebook Group. I also intend to write about this.
“I guess it’s a very basic question for you all pros here:) I need to change my domain name..how do I go about it? I already have a live and running WordPress website. I bought my domain at GoDaddy and my host is HostGator..thanks so much!”
In this post, we will learn how to change domain name in WordPress without losing SEO.
I will use cPanel Hosting on Hawkhost. Because most people use cPanel Hosting.
Old domain name is old-example.com. New domain name is new-example.com. Both bought at Godaddy.
Let’s start.
Step 1. Point new domain name to Hosting
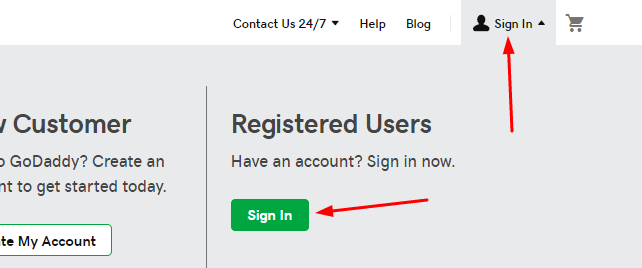
Go to Godaddy > Sign in
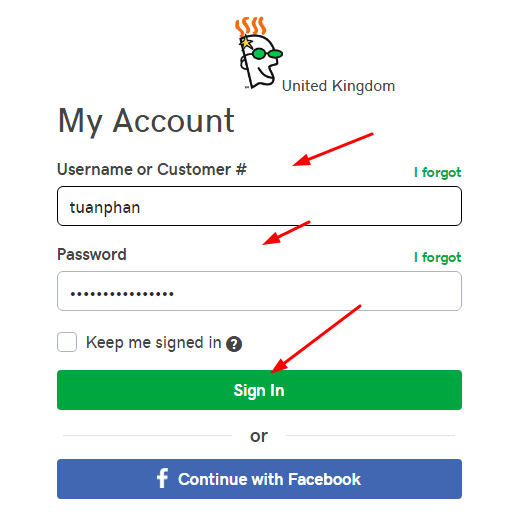
Fill your username and Password
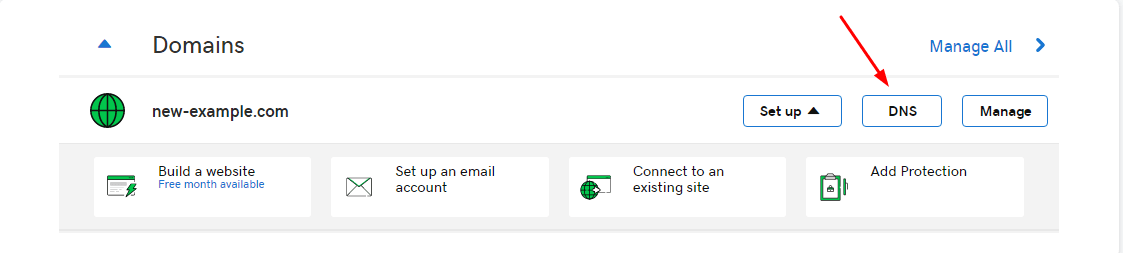
Click DNS
Click “Pen” icon at Type A and Type CNAME
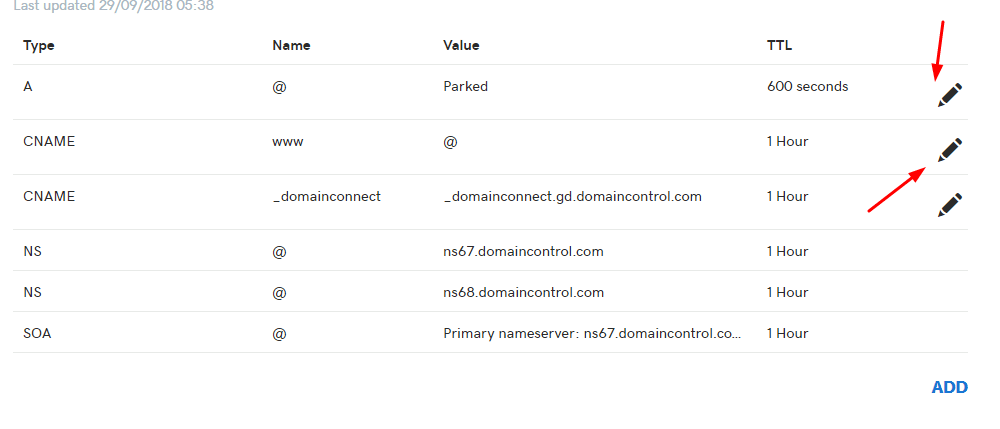
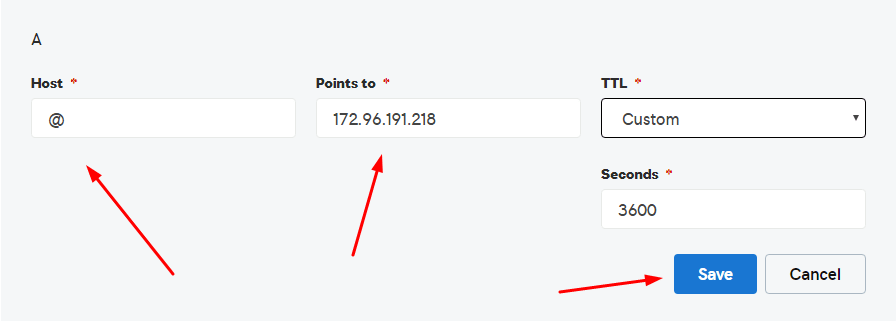
Type A
- Host: @
- Points to: IP of Your Hosting. Contact Hosting Provider to know this.
- TTL: Leave Default
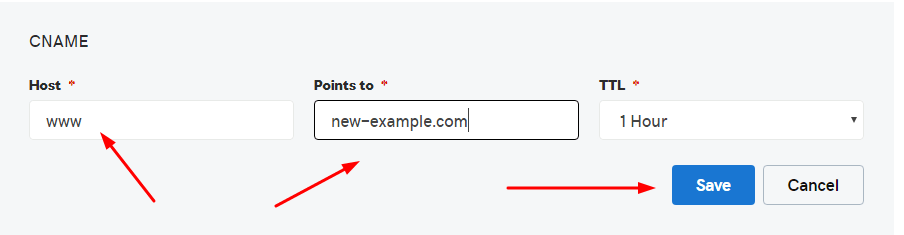
Type CNAME
- Host: www
- Points to: your domain name (non-www), eg. new-example.com
- TTL: Leave Default
Step 2. Add domain name to hosting
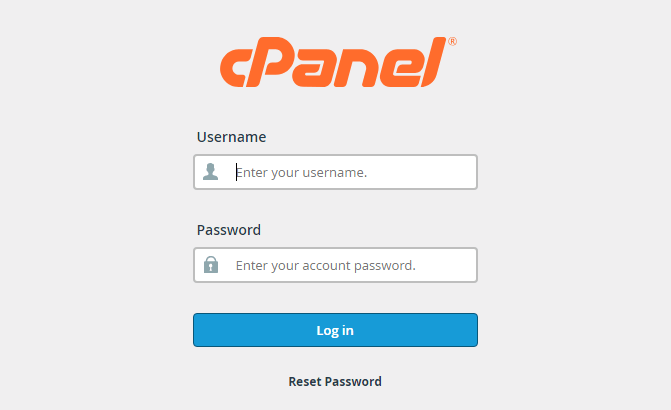
Log in cPanel at New-Example.com/cpanel
Click Addon Domains
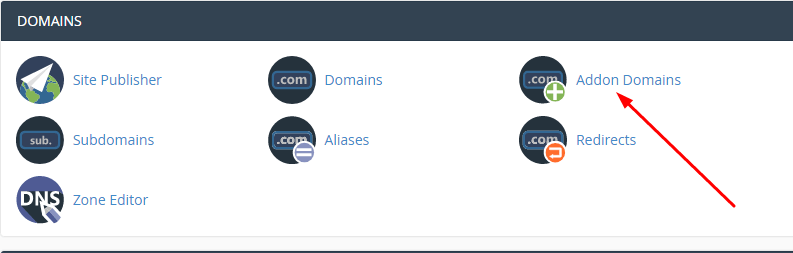
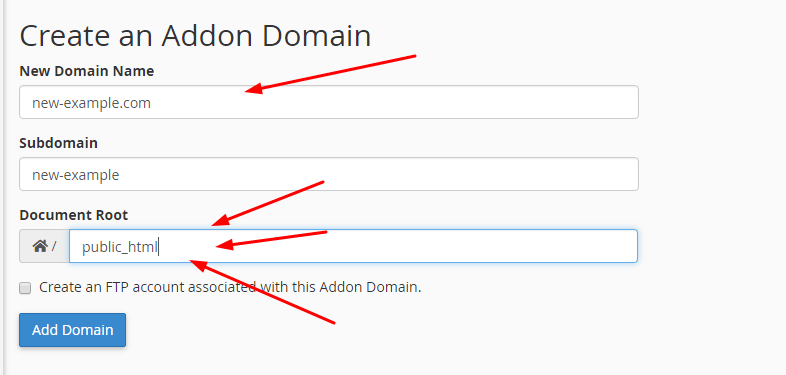
Enter Your New Domain, eg: new-example.com
- New domain name: eg. new-example.com
- Subdomain: Leave Default
- Document Root: Folder hosted your site. Remember to choose correctly.
Document Root can be:
/public_html: If your hosting is hosted 1 Domain
/oldomain.com: If your hosting is hosted multiple domains
Then click Addon Domain
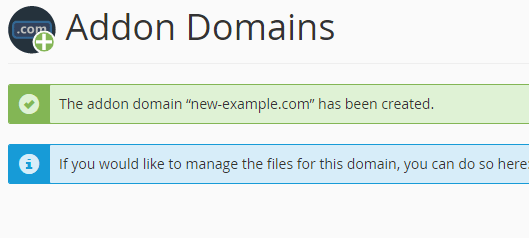
Success!
Step 3. Change Domain Name in WP-Admin
Settings > General. You will see
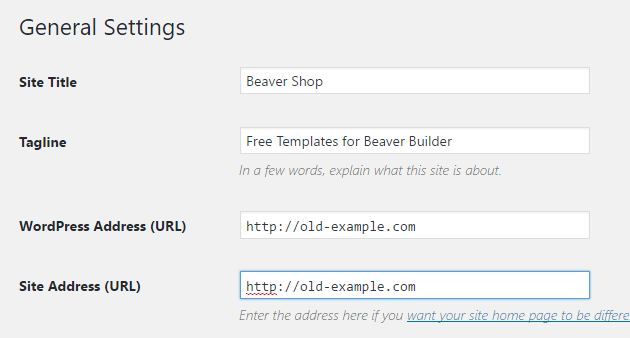
Change WordPress Address and Site Address to New-Example.com
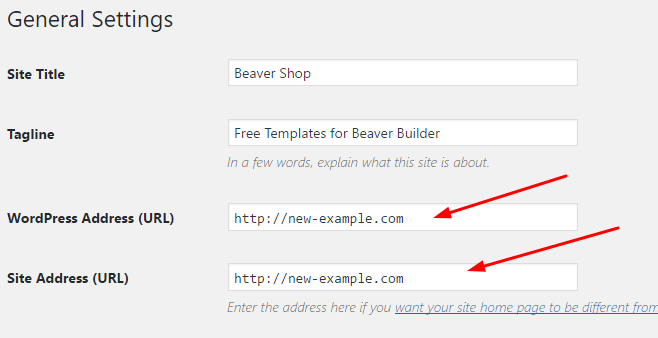
Scroll down and Click Save Changes. WordPress will automatically log out. You need to log in again.
Step 4. Replace all old link to new link
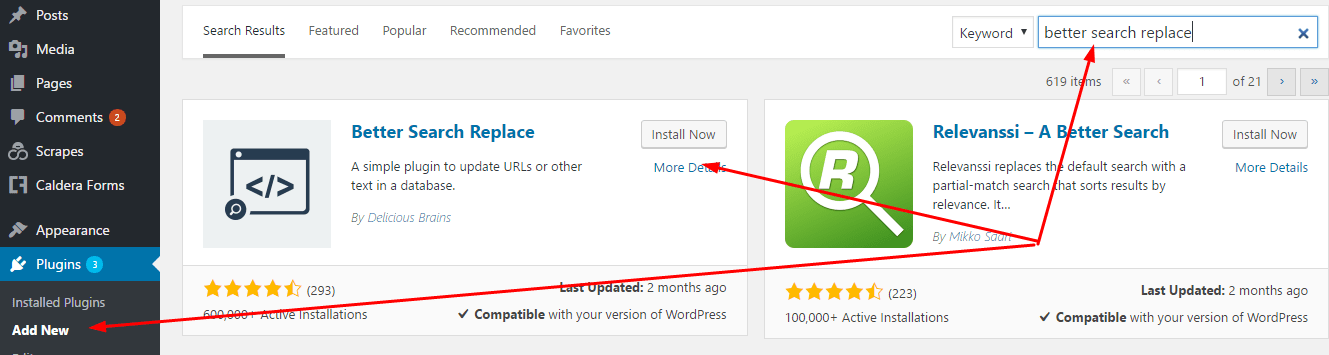
Plugins > Add New > Type Better search replace > Install Now
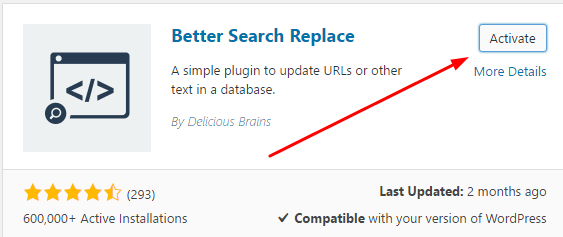
Activate
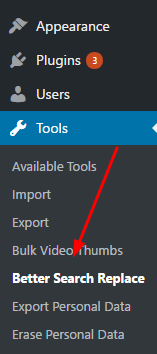
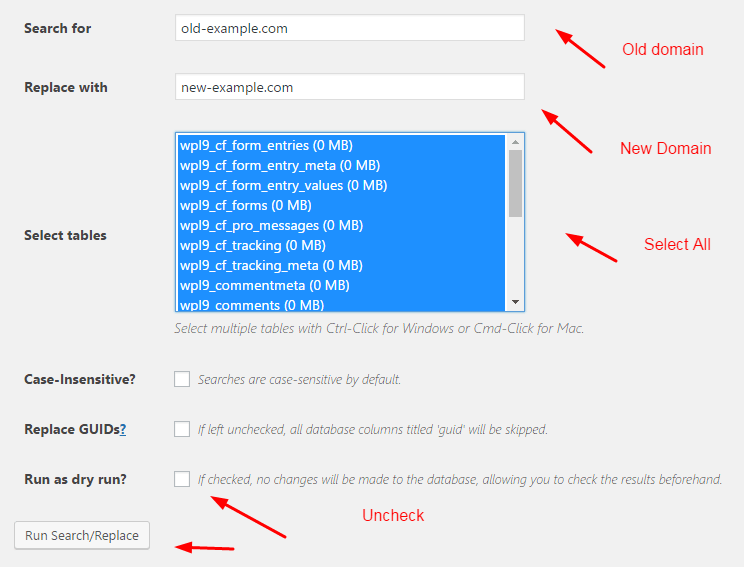
Tools > Better Search Replace
Search for: your old domain, eg: old-example.com
Replace with: your new domain, eg: new-example.com
Select tables: select all
Run as dry run?: Uncheck
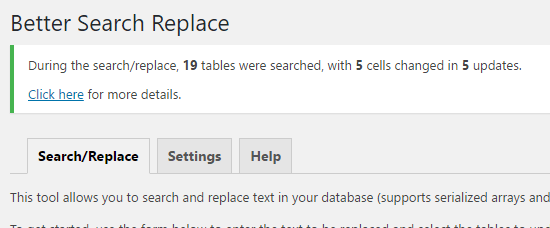
Then click Run Search/Replace
Done!
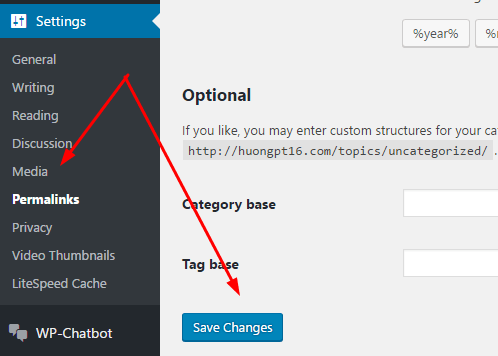
Step 5. Save Permalinks
Settings > Permalinks > Save (No need to do anything)
Step 6. Redirect Old Domain to New Domain
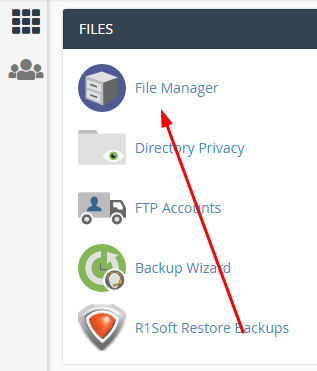
Log in to cPanel
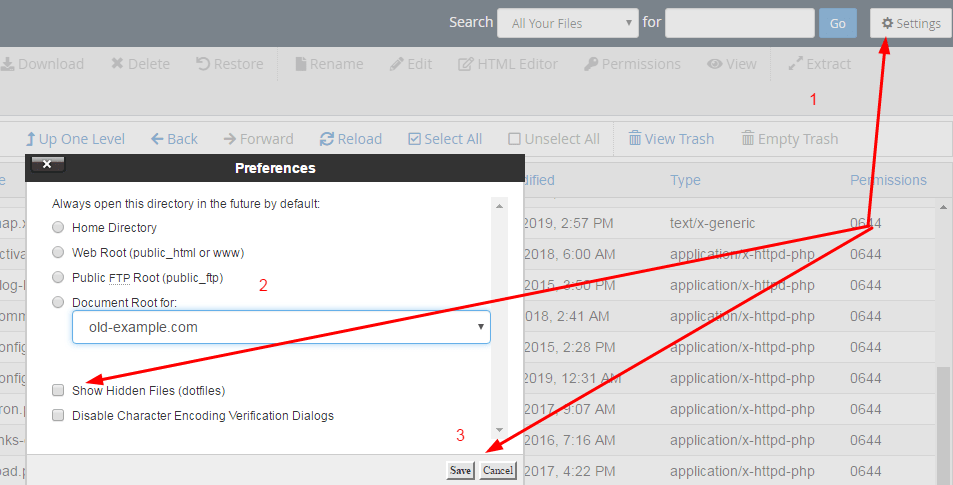
Click File Manager
Click Settings (Top right corner) > Check Show Hidden Files (dotfiles) > Save
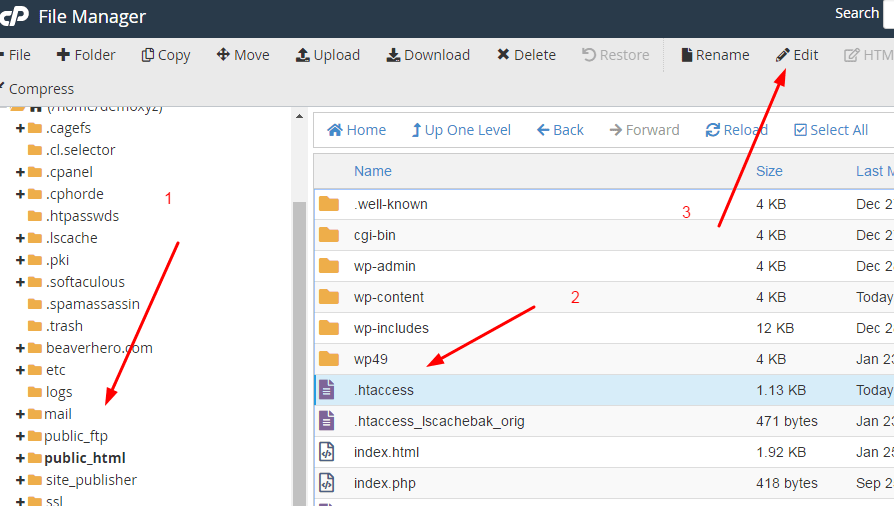
Click public_html > .htaccess > Edit
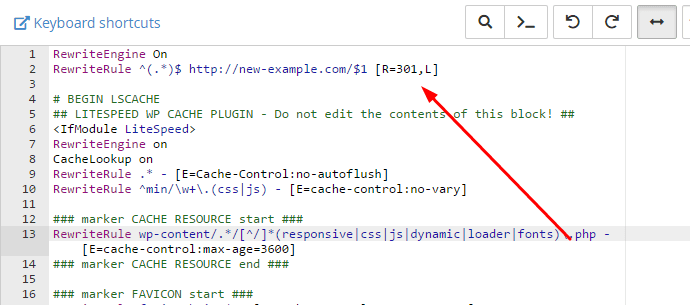
Paste these line into .htaccess
RewriteEngine On
RewriteRule ^(.*)$ http://new-example.com/$1 [R=301,L]
Save. Done!
Step 7. Add New Domain Name to Google Search Console
You need:
- Add New Domain Name to Google Search Console
- Submit Sitemap
- Increase Crawl Rate
- Change Address in Your Old Domain (Added in Google Search Console)
and Done!
Updating….
Thank you very much. This tutorial has saved me. I had lost a domain and therefore did not have access to the WordPress control panel, but I did have all the files of the site in the hosting. I thought making the switch would be a huge headache, but thanks to you it was so easy.