In this post, I will share how to create “Image beween 2 sections”, same as screenshot below.

In this post
1. Add an image
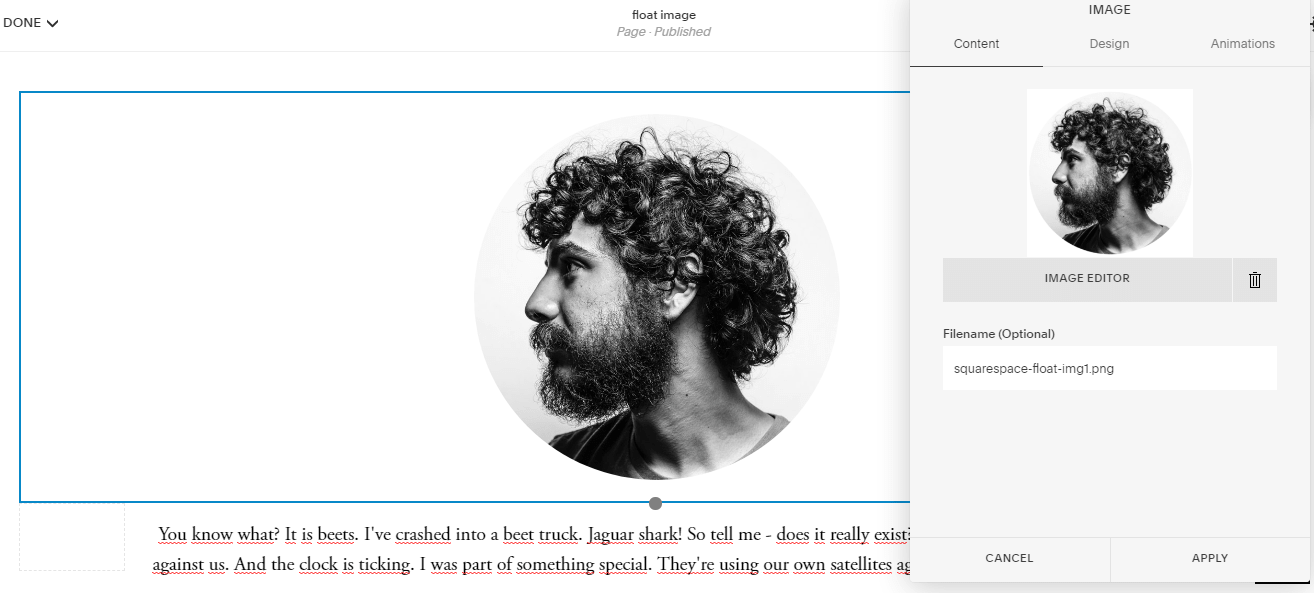
First, Use Image Block to add an image.

and text with Text Block, if you want.
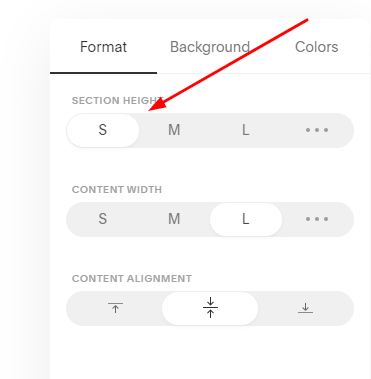
Next, adjust Section height to S

2. Add code
Add this code to Home > Design > Custom CSS
body:not(.sqs-edit-mode) {
  [data-section-id="5e795f5446e507259f013269"] .content-wrapper {
        padding-top: 100px !important;
    }
div#block-yui_3_17_2_1_1585012509345_4675 {
    padding: 0;
    position: absolute;
    top: -80px;
    left: 50%;
    transform: translateX(-50%);
    .thumb-image {
        position: inherit !important;
        height: 160px !important;
        width: auto !important;
        display: block;
        left: 0 !important
    }
    .image-block-wrapper {
        padding: 0 !important
    }
 }
}
3. Explain
body:not(.sqs-edit-mode) Add this code in front, so that the CSS code only affects live mode, not edit mode.
(If you do not use this code, sometimes you will have problems when editing photos)
[data-section-id=”5e795f5446e507259f013269“] is Section ID. Each section has different ID.
div#block-yui_3_17_2_1_1585012509345_4675 is Image Block ID. You can use this extension to find block ID.
4. Customize
change image width/height
You need to edit height (width & height will change) & top attribute.
Specifically, in the code above, you need to edit the 2 lines
- height: 160px !important;
- top: -80px !important
Notes: top = – 1/2 height (to keep image is always between sections)
adjust spacing between image – text
Edit
- padding-top: 100px !important;
Done! If you have any questions, just send to my email!
love this. coolest thing i did all day #newtothis
Hello Tuan!
Thank you so much for this tutorial. I’m having a difficult time getting it to work. Are you targeting the section the image is in or the section above?
Let me know. Thank you so so much!
Colleen
Hi.
Can you share site url? I can check easier.
You can email me: [email protected]