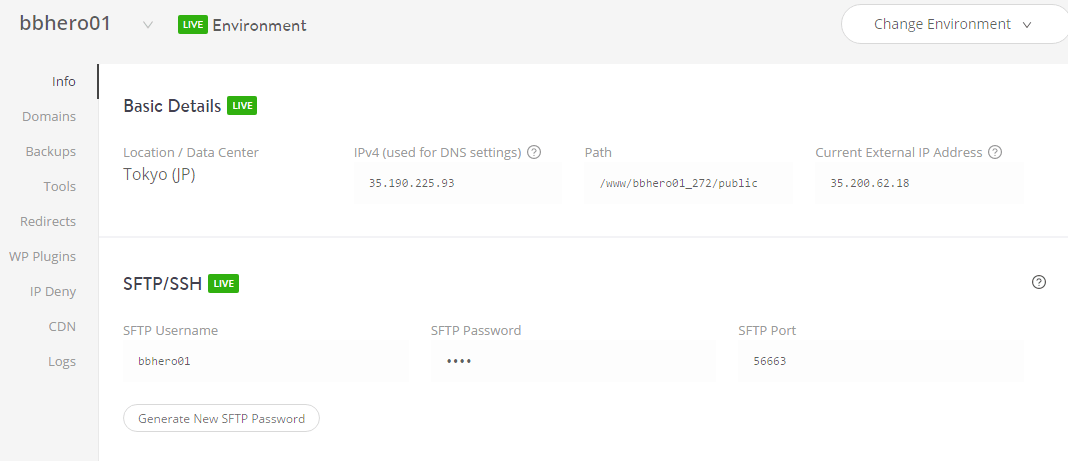
How to install WordPress Site on Kinsta Hosting:
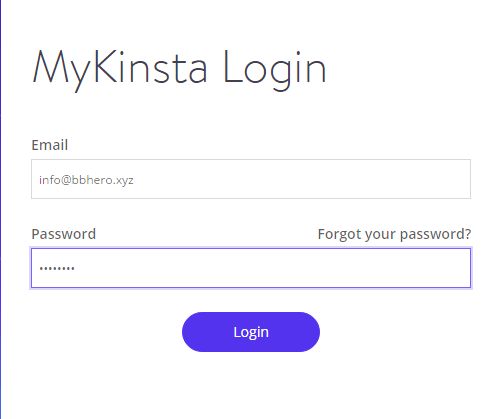
Step 1. Log in to Kinsta

Step 2. Click on Sites > Add Site

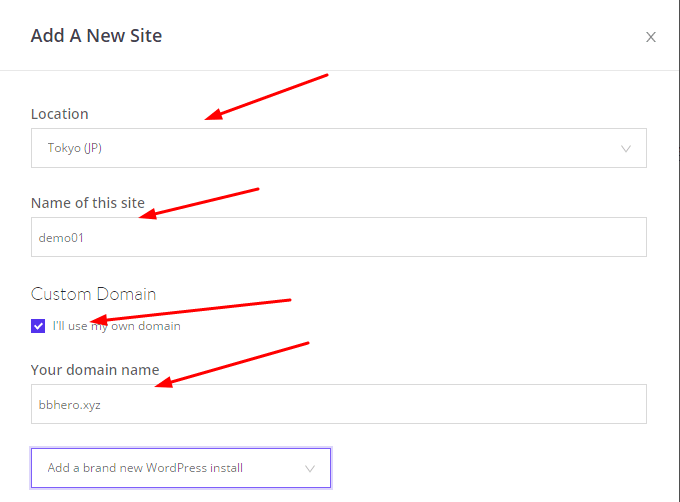
Step 3. Choose
- Location
- Name of this site: Only contain lowercase letters and numbers, and must be between 5 and 32 characters long
- Custom Domain: I’ll use my own domain
- Your domain name: Enter your domain
then choose Add a brand new WordPress install
Next
- WooCommerce: #1 Ecommerce Tool for WordPress
- Yoast SEO: SEO Optimization
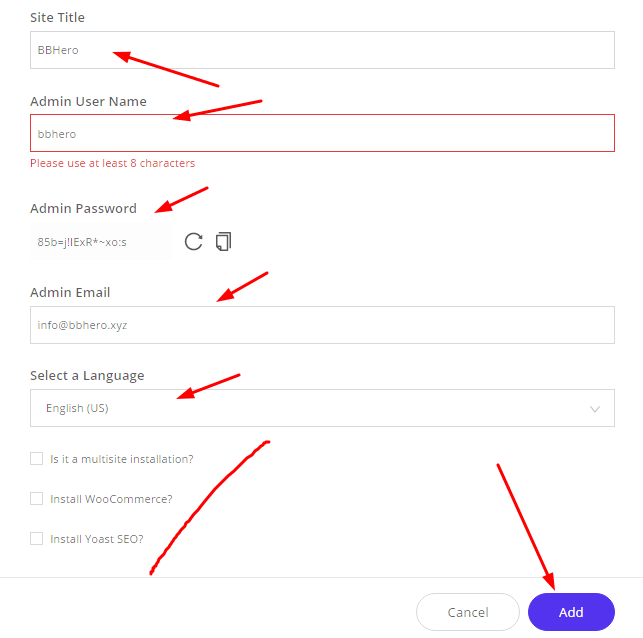
Then click on Add
and waiting…
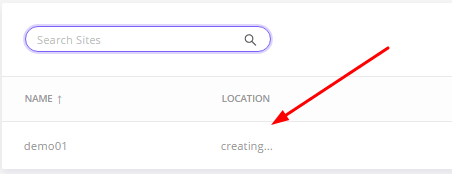
Done!

Step 4. Adding Domain to Kinsta
First, Kinsta DNS > Add your first domain
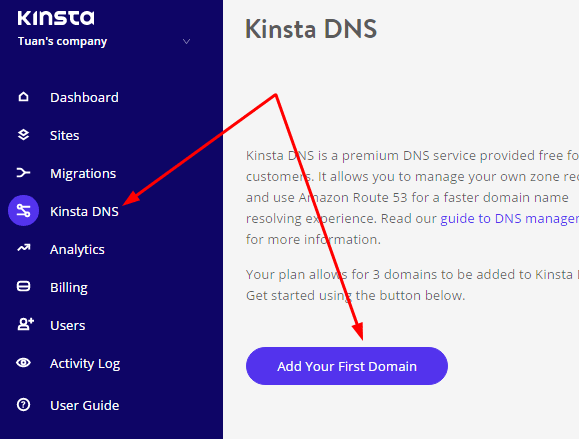
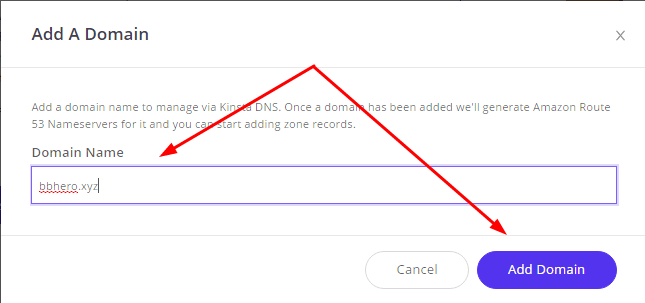
Next, enter Domain you have installed WordPress (Step 3)
You will see these lines
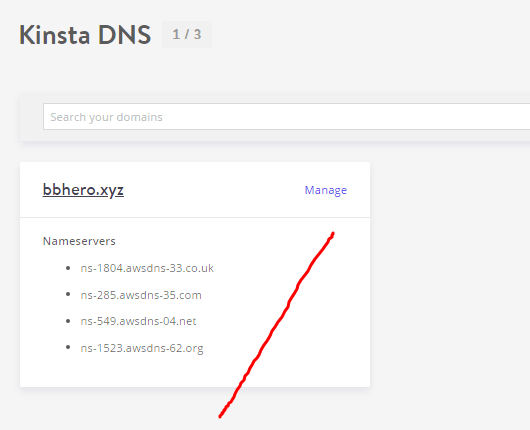
Step 5. Pointing Your Domain to Kinsta with this tutorial
It will take 1 – 4 hours to update your domain. Or it can take up to 24 hours.
Step 6. And Here is your website detail
You can start to visit the website at: example.com (e.g: beaverhero.com)
and your website management page at example.com/wp-admin (e.g: beaverhero.com/wp-admin)
